This Recipe is NOT edible.
Cold porcelain is great to work with. One of the great things about this clay is that you can make it at home and with basic materials. It is easy and cheap to make. I have not worked with other air-dry clay, mainly because they can be expensive. So, before you try to work with some pricey clays, you might want to try cold porcelain first. The cold porcelain is smooth, durable, easy to work with, and easy to apply color.
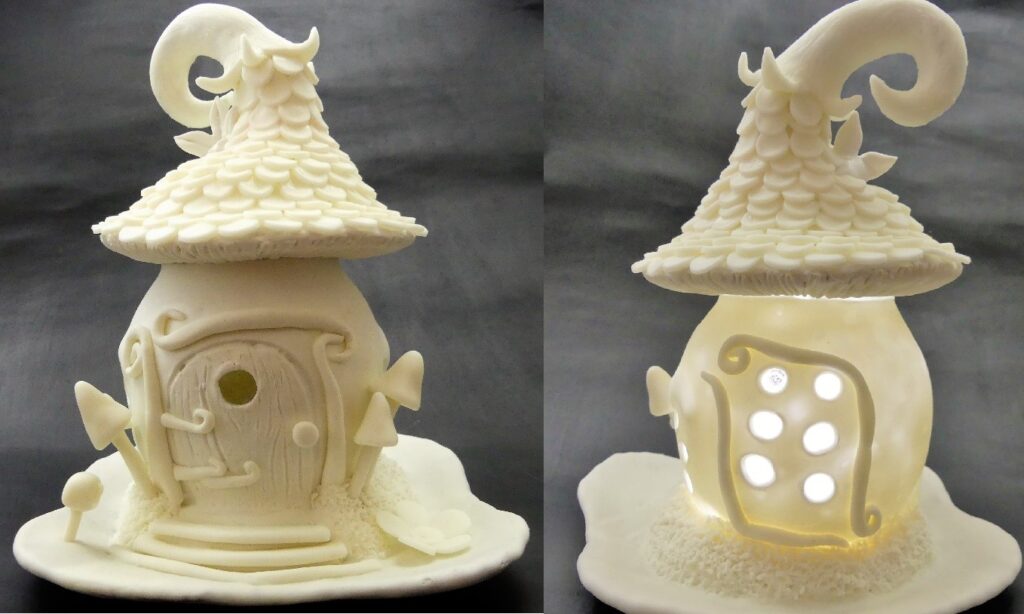
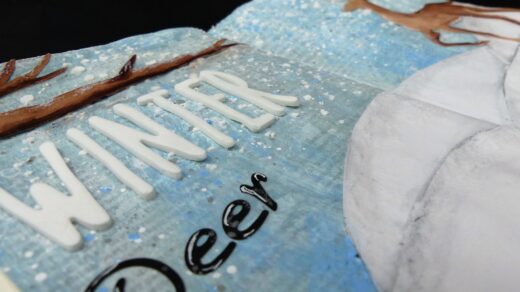
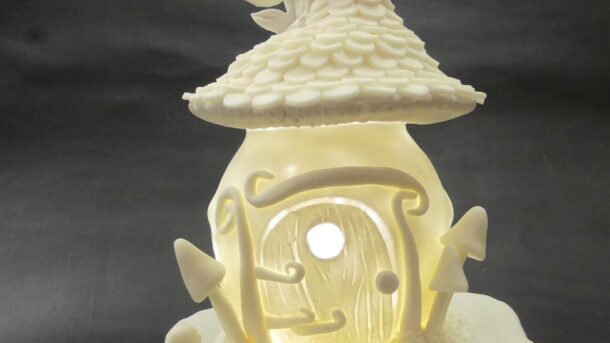
Here is an example of a little fairy lamp that I made with cold porcelain clay and a recycled jar. I still need to paint it.
There are many versions of this clay on the internet. It can be made in the microwave or on a stove. This recipe is not mine. I found it on the internet many years ago and I still use it. For this recipe, I used the microwave. If you want to use your stove instead, you can find the directions on the internet.
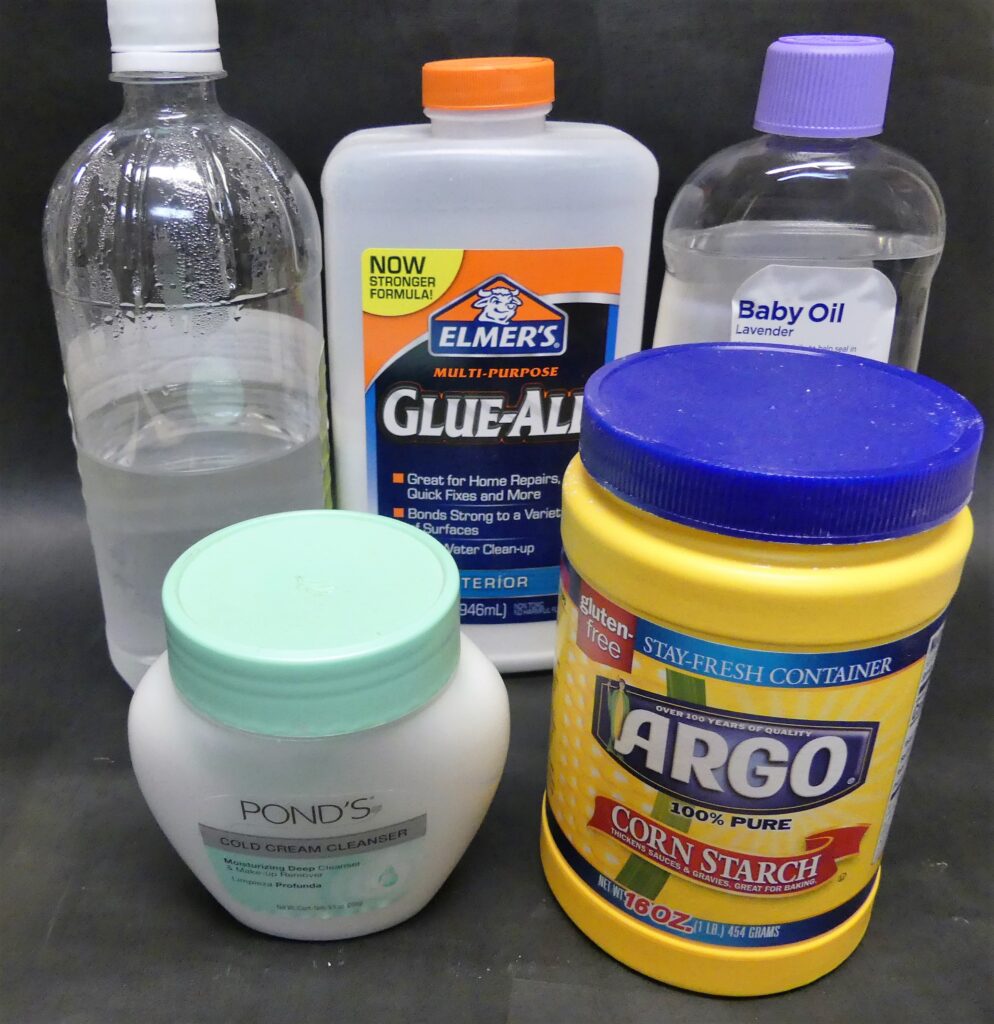
Ingredients
*I use these brands of glue and lotion because they work for me. For everything else, I use the brands I have available
1 cup (240ml) of cornstarch
1 cup (240ml) of PVA glue Elmer’s Glue-All*
2 tablespoons of vinegar/lime or lemon juice
2 tablespoons of baby oil/ cooking oil
Ponds cream* (I’ve seen some recipes with Nivea cream)
In a microwave-safe glass bowl, add glue, vinegar or lime juice, baby oil or cooking oil, and mix it well (leave the lotion out of the recipe for now)
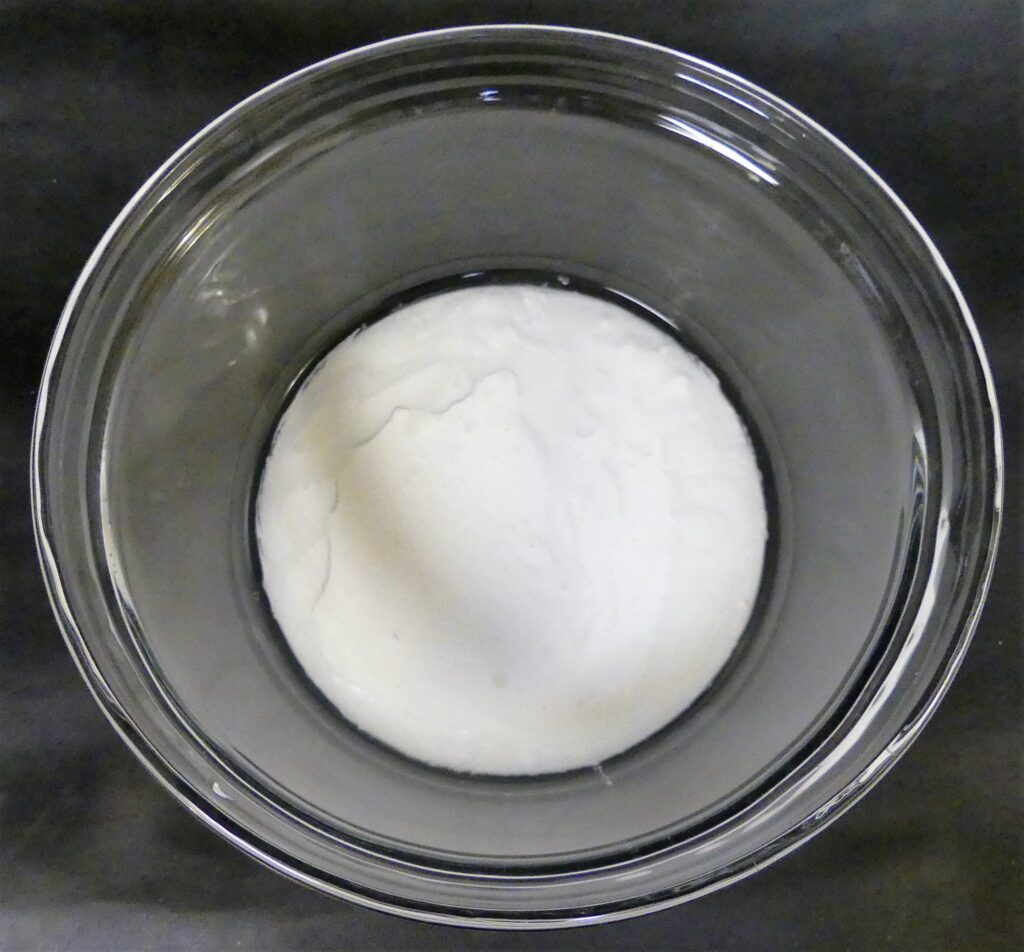
Add the cornstarch and mix it well until you get this smooth texture.
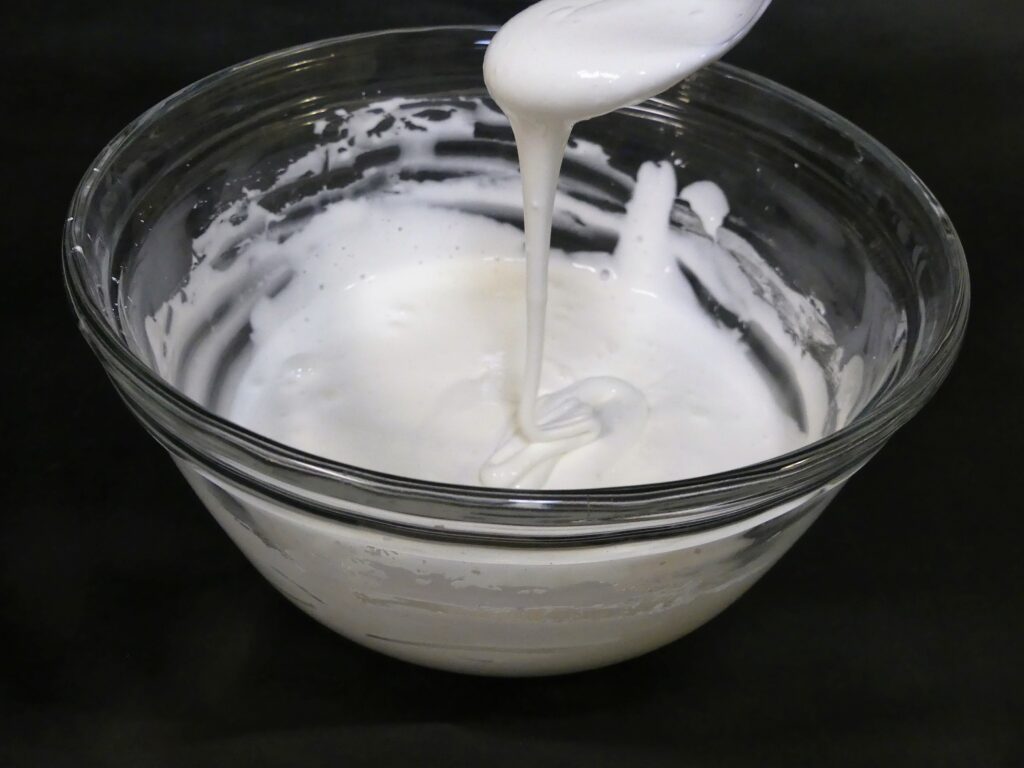
Pop in the microwave for 30 seconds at a time. Between intervals make sure to take it out and mix it well. I have a 1000W microwave, so the cooking time will vary. The amount of clay that you make will also determine how much time is necessary for microwaving. If you double the recipe, it will take longer to cook. For a single batch, I microwave it for 30 seconds and repeat this 4 times. After 2 minutes of microwaving, if it is not done, I will pop it back in at 10-second intervals until I get the right consistency. The mix will start getting harder and you will need to keep a close eye on the clay to not over or undercook it.
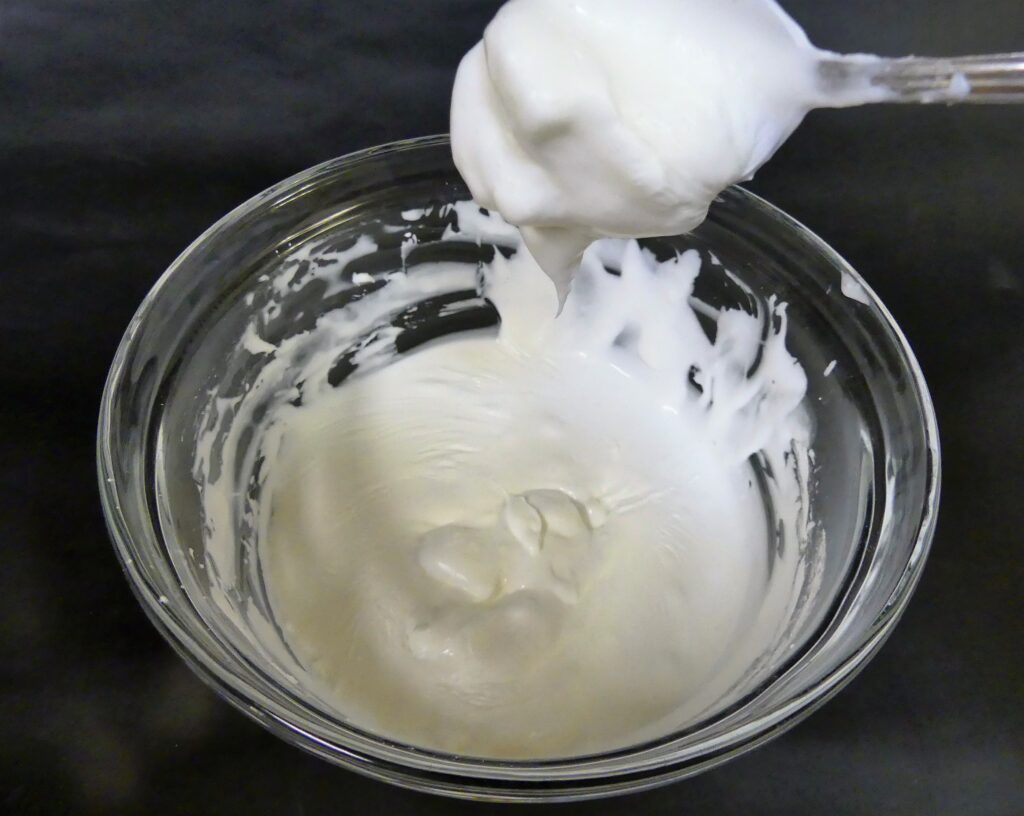
This is what it looks like after the 3rd interval of 30 seconds for a single batch. Quite chunky, but not at the right consistency yet.
This is how it looks after the 4th 30 seconds interval
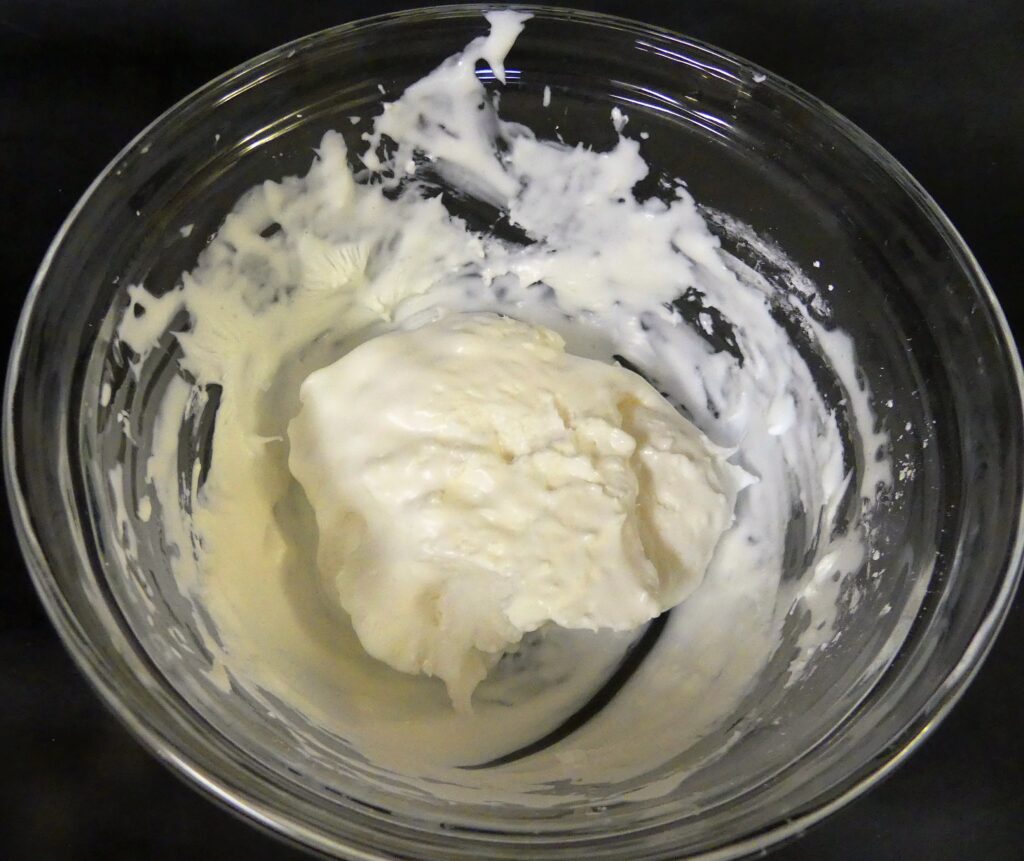
Prepare a clean surface with lotion, adding some lotion to your hands as well. Please be very careful kneading the clay because it will be very hot!

Knead the clay until it cools down and when you pull it apart, it makes a teardrop shape.

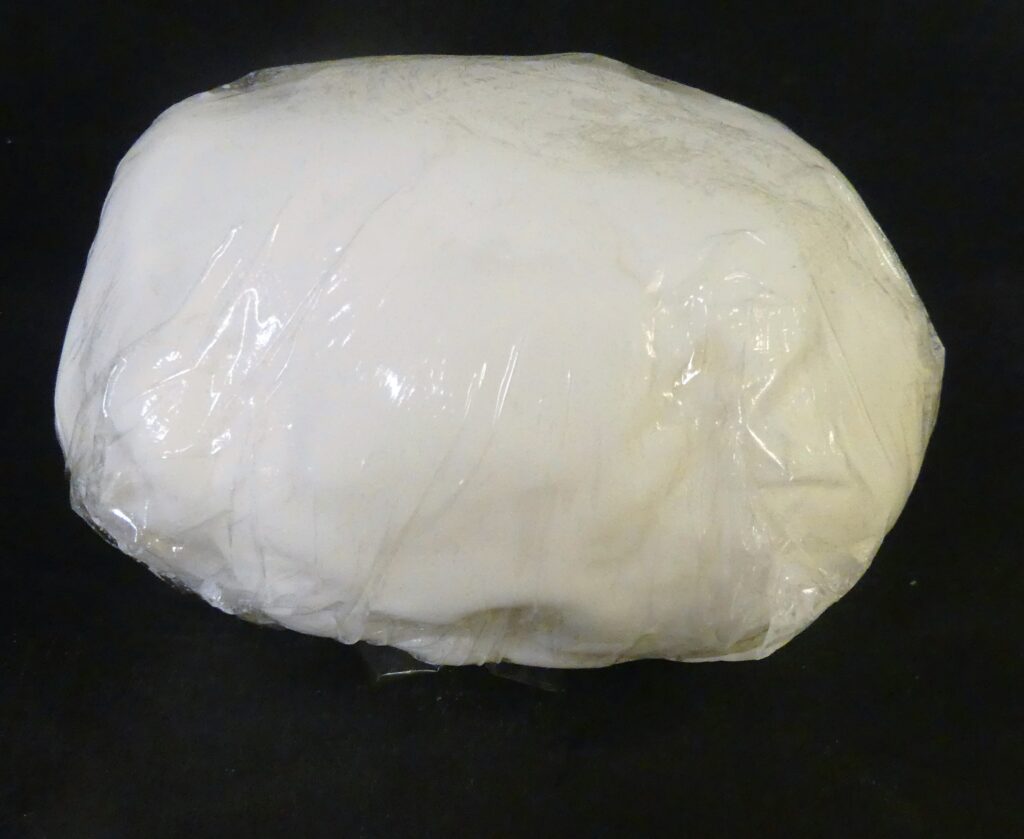
Use a piece of plastic wrap to store it overnight. But make sure you add some lotion to the plastic wrap so that the clay does not stick to it.
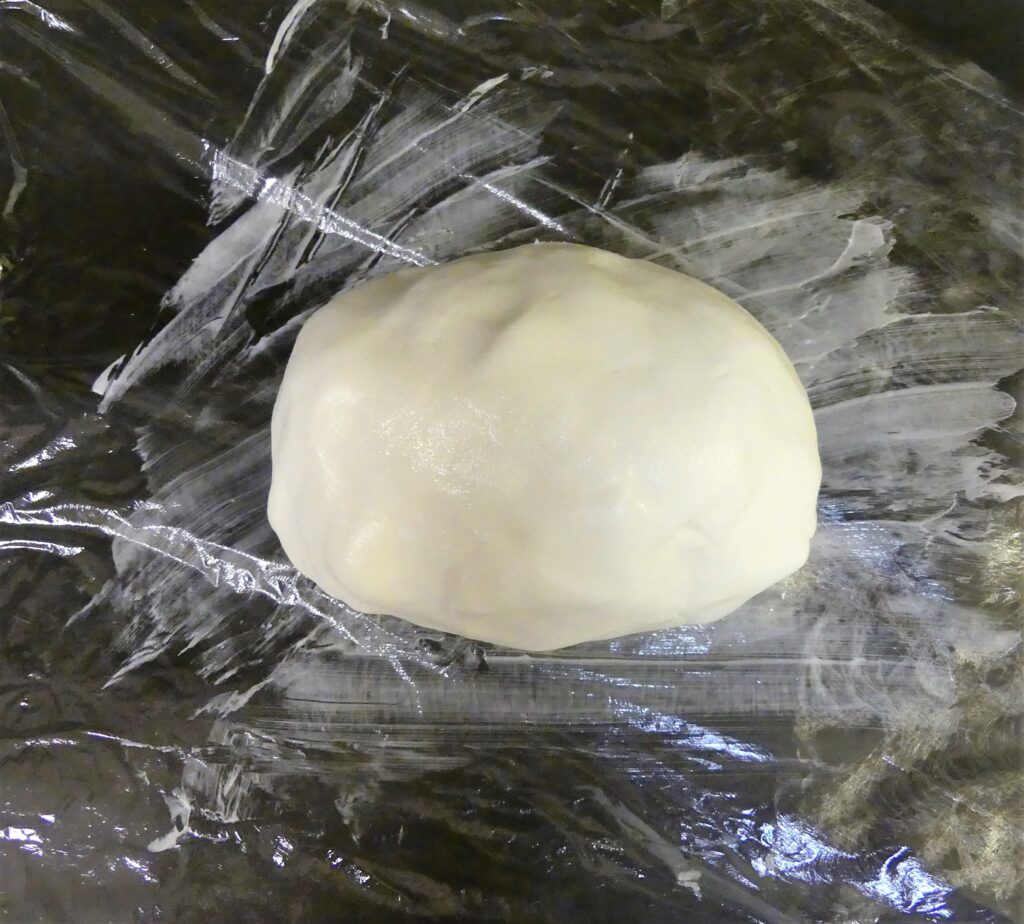
The next day, if the plastic wrap has any water droplets inside of it, change it or dry it with paper towels and rewrap the clay.
Happy Crafting!
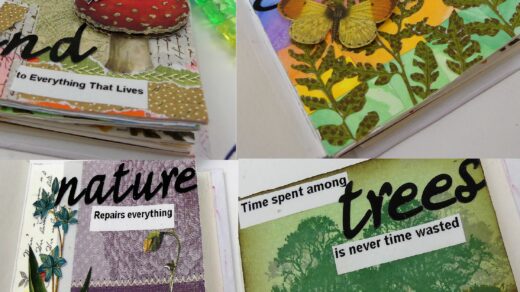
Check other DIY posts here. And you can also subscribe to my YouTube Channel here