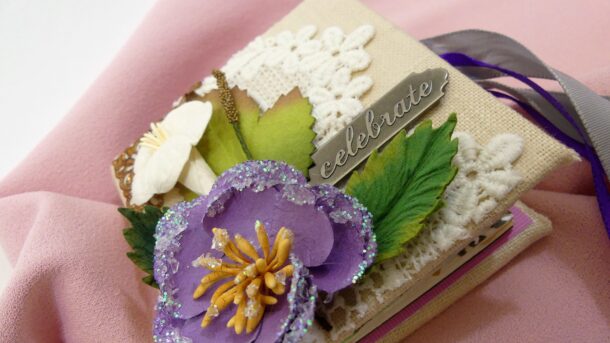
Hello everyone, I’m back to finish our mini-project. Today we will add some embellishments to our mini journal cover. You can see where we started making the journal and designing the pages here and here.
If I have thought through it better when I started this mini-Journal, I would have designed the pages without adding the cover. Only because it would make things easier to add the fabric and embellishments later. In this project, I had the option to tear the journal from the cover and just make a new one, embellish it, then attach the pages back to it, but I did not want to go through the hassle, but that might be an easier solution for you if you already added the cove and wants a better finish. Living and learning!
I didn’t add too many Items to the cover. I wanted to keep it somewhat simple.
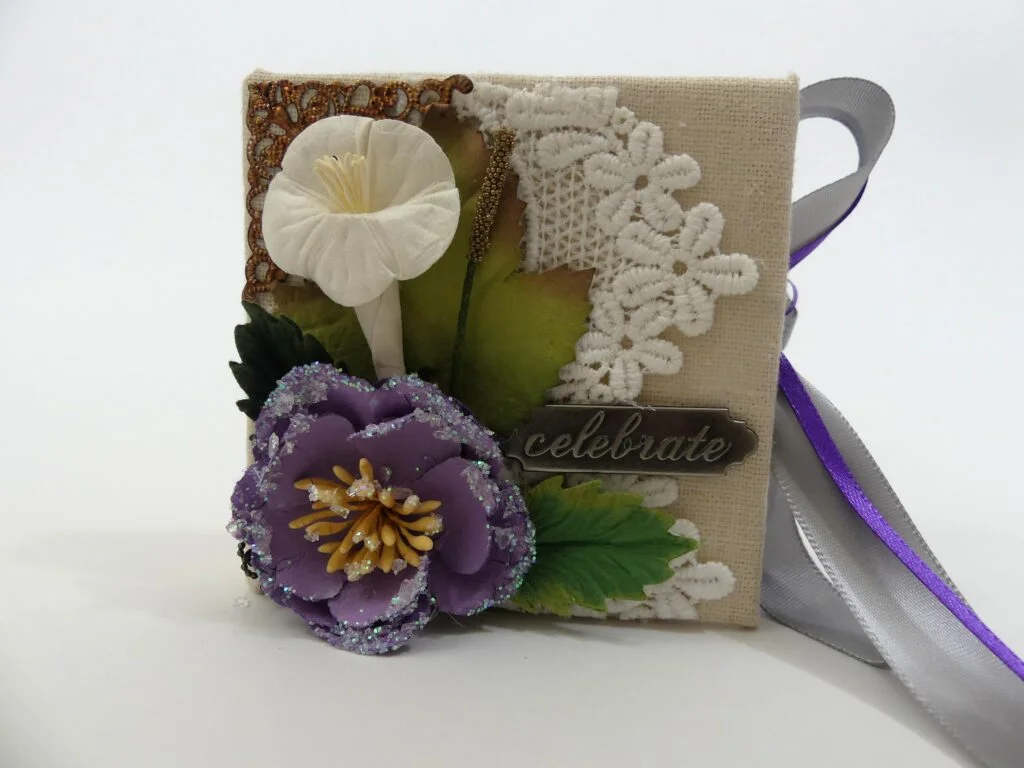
For this cover, I used a piece of fabric. I already had the fabric and I honestly have no idea what kind it is. Some corner embellishment, lace, paper flowers and leaves, buttons, ribbons, mat medium (but you can use any other wet glue or tape adhesive if you prefer), and hot glue.
I started by gluing the fabric to the sides of the journal cover first. That was a silly move. I could have just glued the fabric to the back, cut the fabric at the corners and fold it afterward. So, if you proceed with the project, don’t make the same mistake. Also, I needed to cut the fabric at the spine. Fold it behind it and attach it with glue. Once the fabric was glued in place and added a piece of ribbon on both sides and covered it with a piece of paper cut slightly smaller than the cover. That way, I was able to hide the imperfections inside the cover and secure the ribbons.
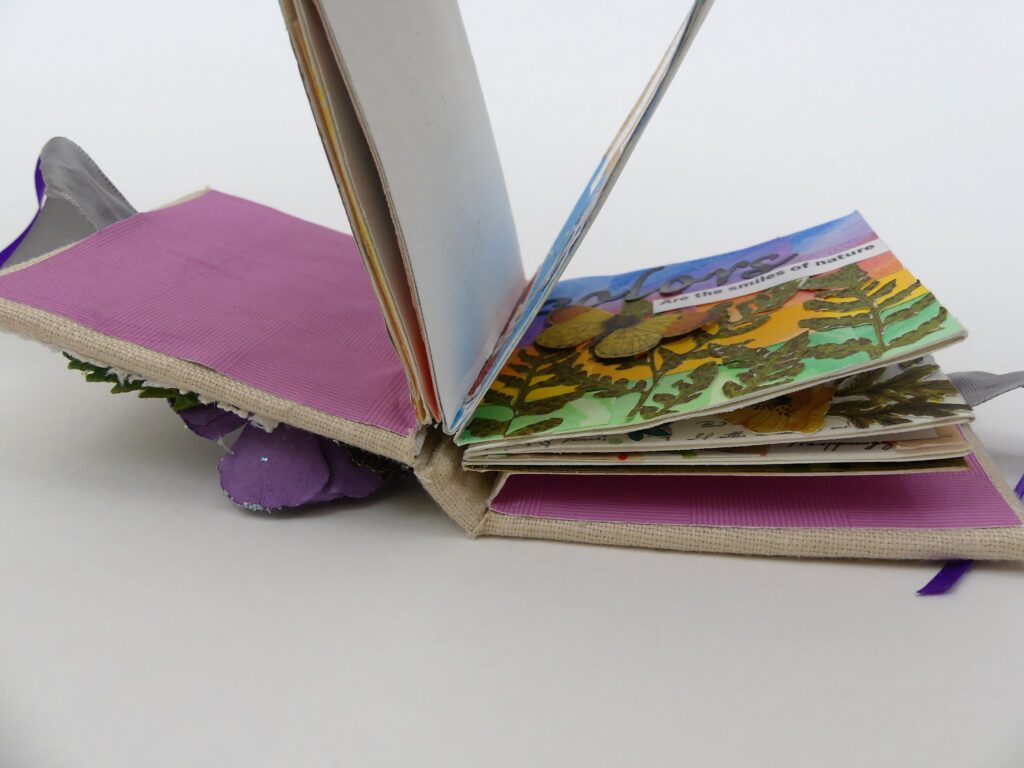
Once the fabric was in place and dried, I added embellishments to the cover and called done. You can decorate it as much as you like. I think the journal looks so cute and I can’t wait to make another.
You can watch the process in the youtube video below.
YouTube Video
Thanks for visiting. Happy Crafting!
