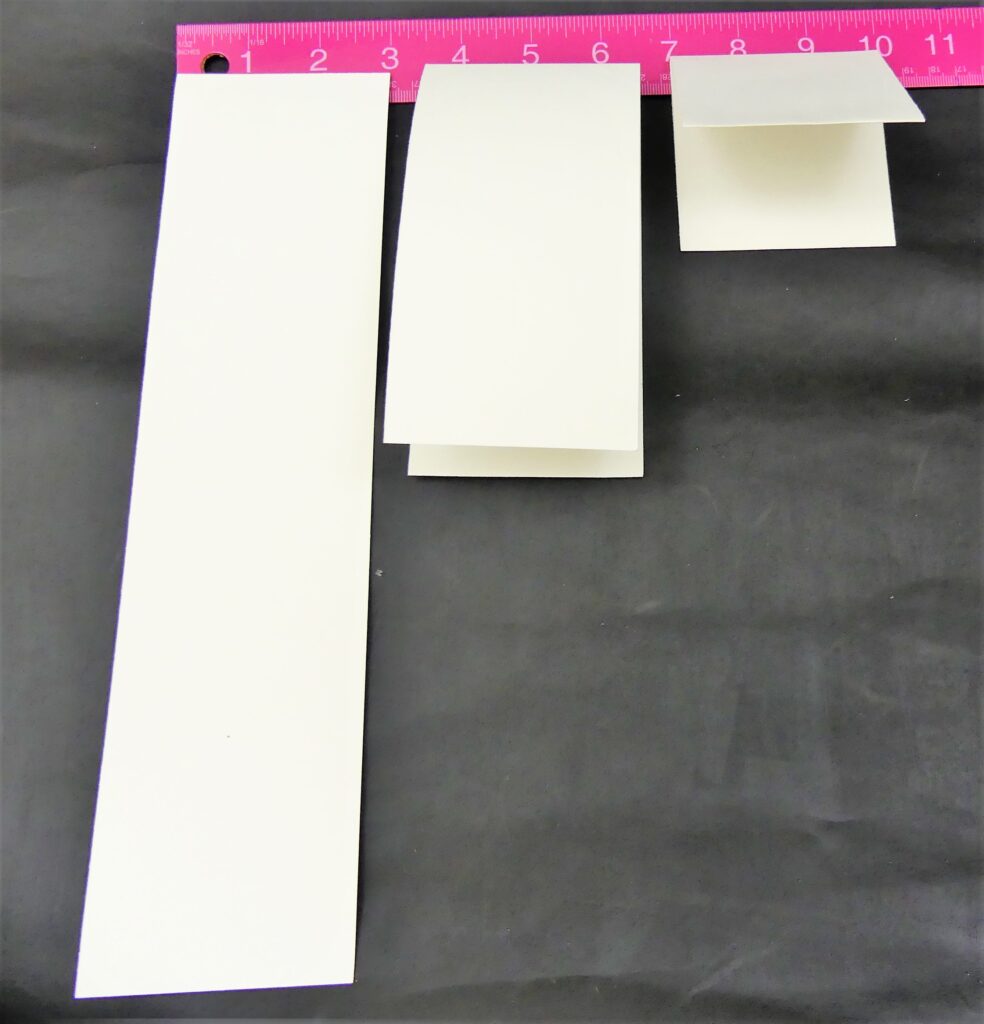
Hello everyone, today I’m back with another mini-project. I’ll show you how to make your own mini art Journal book with just two sheets of watercolor paper. The original idea is not mine. I was doing some research online and I came across this video on YouTube of someone making a mini notebook, and I thought I could tweak it a little and make a mini art journal instead. The paper that I used is 9×12 inches. The mini journal after completion is 3×3 inches for the pages and 3 1/4 x 3 1/4 (Three inches and one quarter) for the cover. The pages are kind of thick, so I honestly do not know if we could go smaller. I’m sure we can try for a future project. Also, you can make the journal with more pages if you want it. I just wanted a small but not-so-thick journal.
So, I just divided the paper lengthwise into three equal size strips, 3×12 inches, and folded each one in the middle, then folded it again. So each strip was folders twice, and one at a time. I repeated that process until all 6 strips are done.
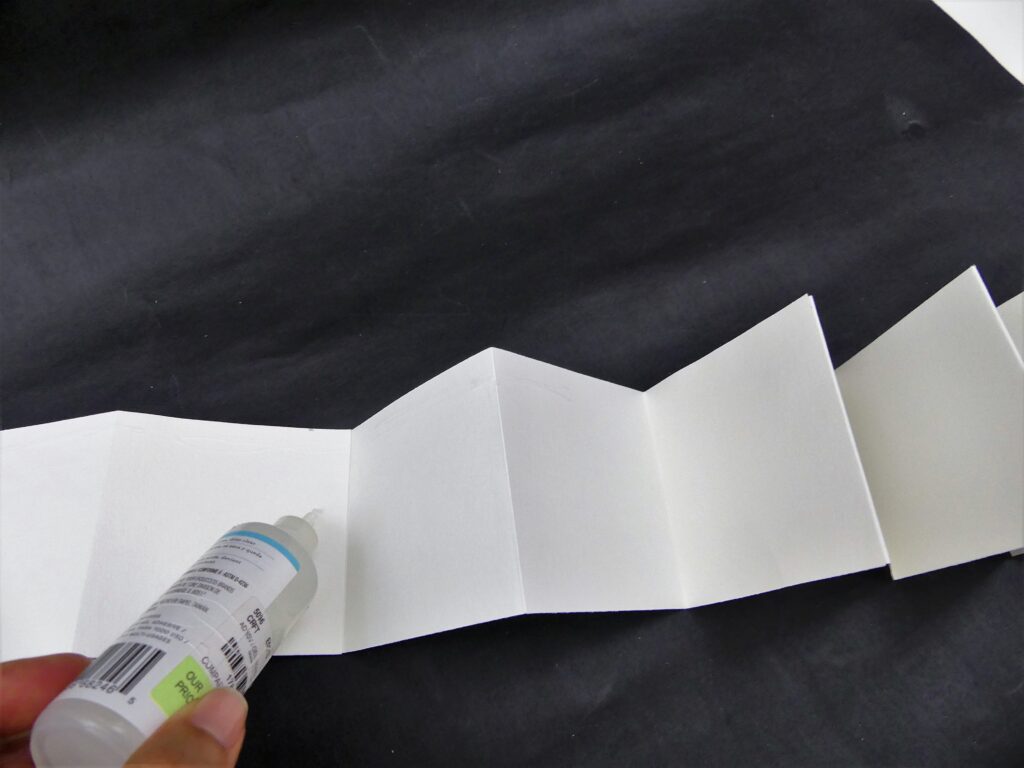
Once that step is complete, I glued all the pieces together transforming them into a long strip of paper, with folding marks that will make it easier to assemble our little journal.
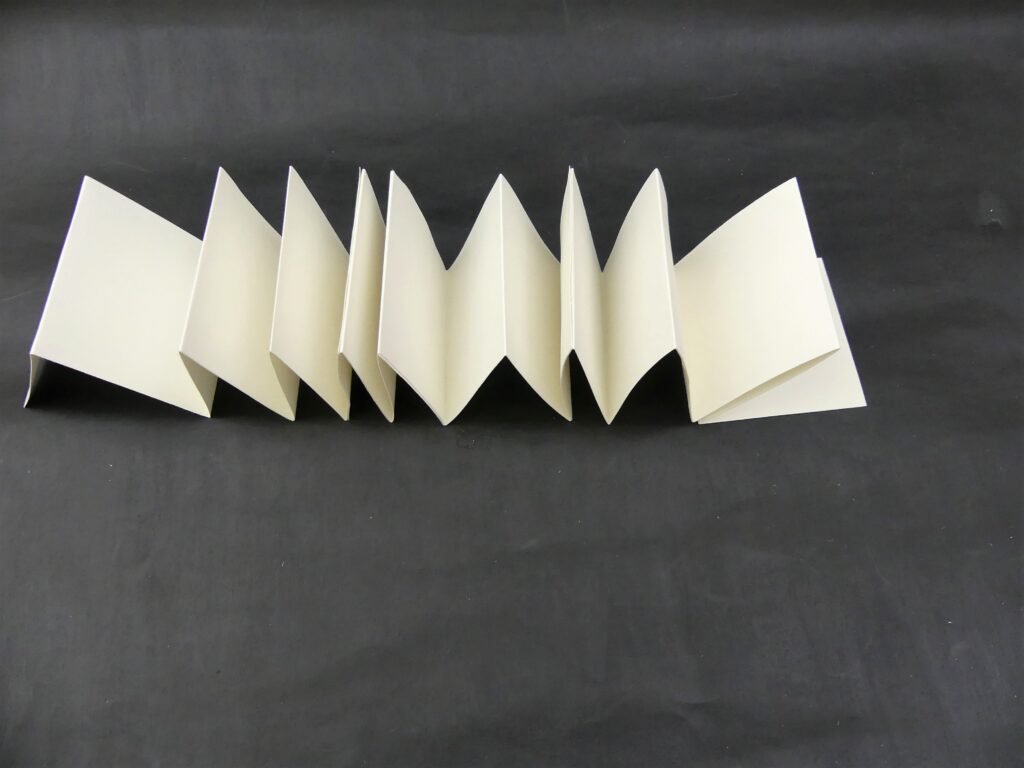
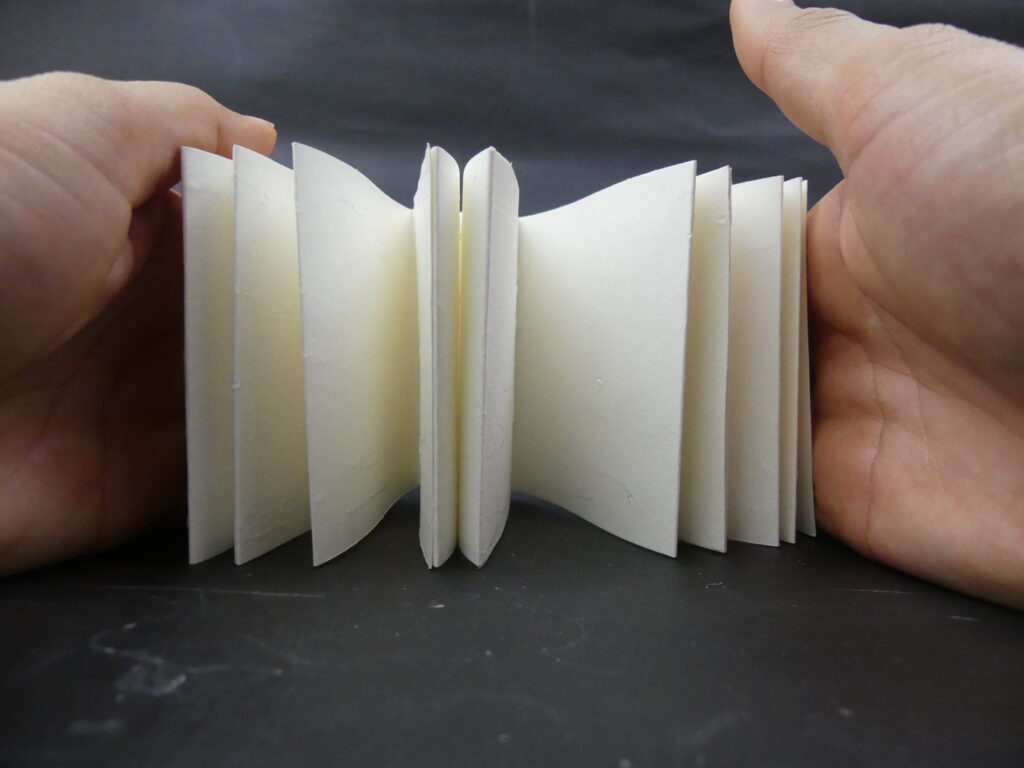
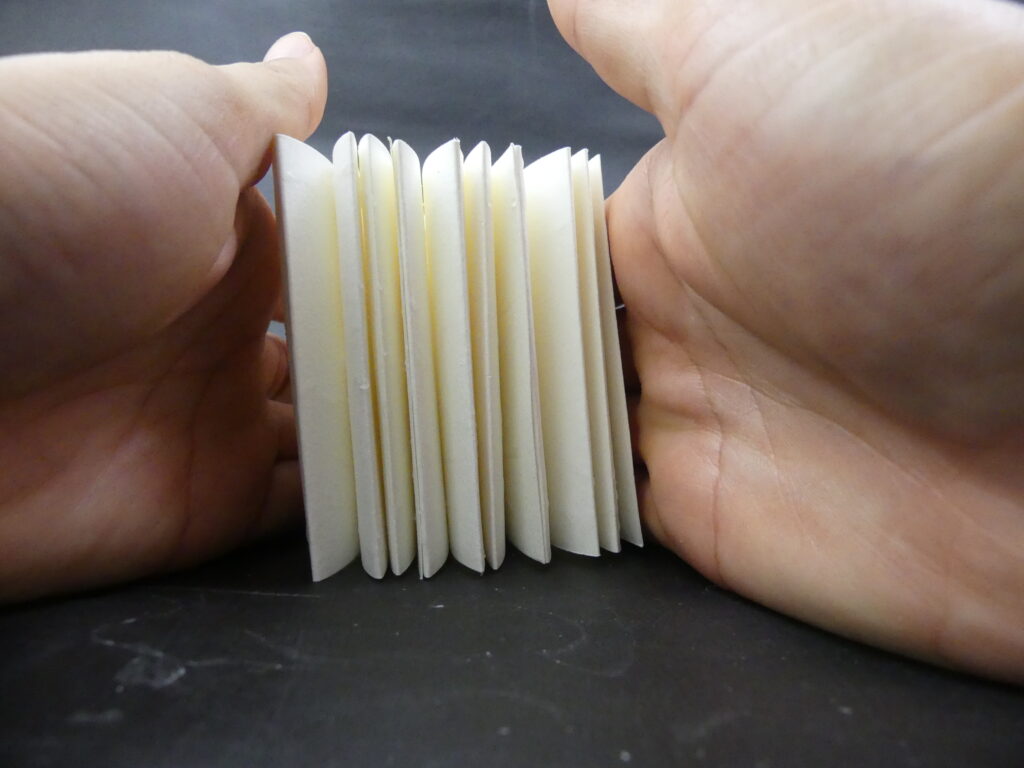
The next step is to unfold/stretch the long strip of paper and put glue from one end to the other, on one side only. Press it together and let it dry for a few minutes. I ended up with 9 full, thick pages and one-half page. however, the final journal will have 8 pages and 2 half pages to glue to the cover.
Let’s make the cover
For the cover, I used a scrap piece of chipboard, but you can use cardboard or recycle any old notebook cover you have, or other materials you think might work. for this journal, I chose the dimensions 3 1/4 x 3 1/4 (Three inches and one quarter) for the front and back cover and 1/2 inch by 3 1/4 for the spine. it’s just a bit bigger than the internal pages.
To assemble, I used printer paper, because I plan to make a prettier convert later. Maybe I’ll add some fabric, or airdry clay. But you can make the cover as pretty as you would like right now.
I used a little piece of the chipboard to measure the space I want to leave between the spine and front and back cover. This mini spacing is just to ensure that the cover will open and close with no issues. I cut the excess paper, cut the corners to make the folds look clean, and glued it to the chipboard.
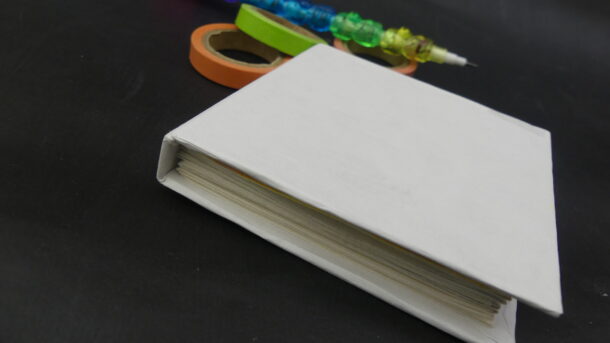
The next step is to glue the pages to the cover. Just put glue on the back of the front page of the mini journal, align it with the spine and press it down. Then, repeat the same step, put glue on the last page, and close the cover. Let it dry and after a few hours, you can start using the mini journal to design your masterpieces.
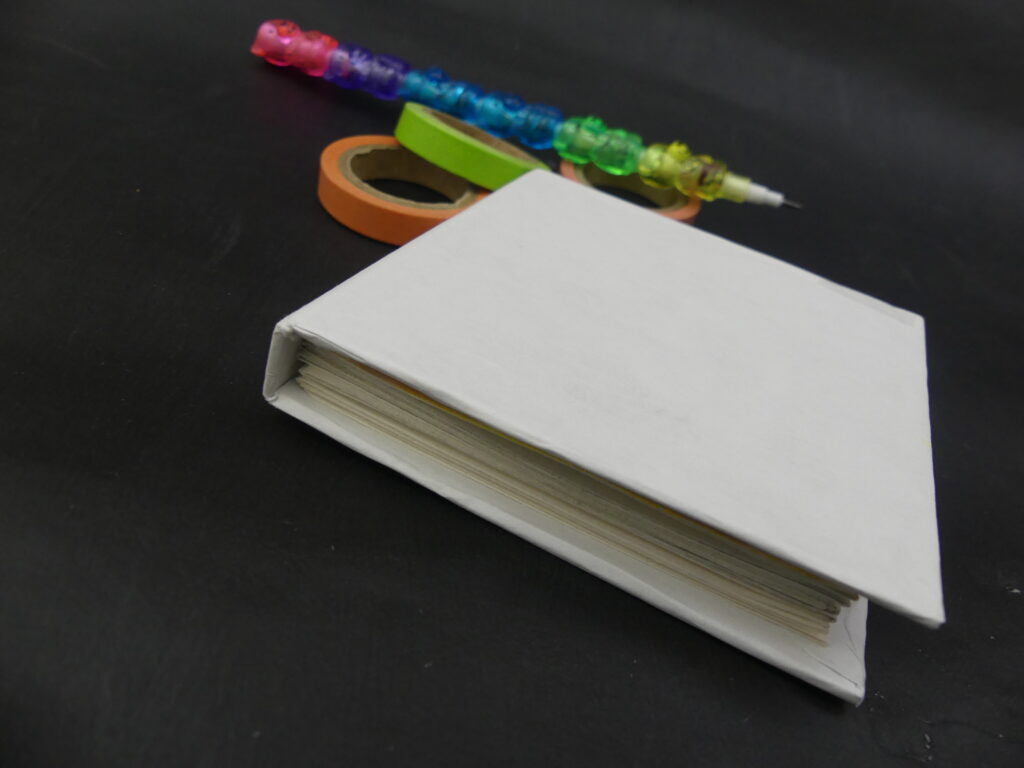
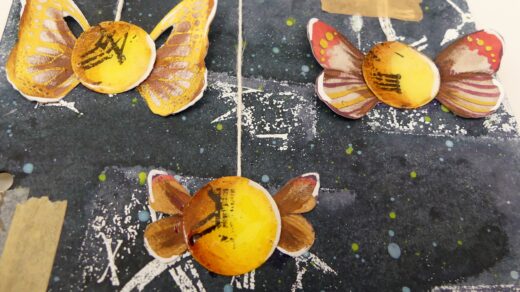
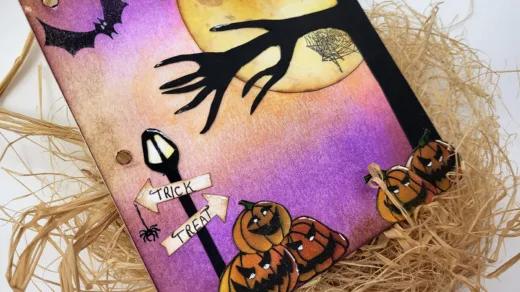
You can check out the video where I make my mini journal below. I also completed two pages in this journal already. Some more will be done soon, so we can finish this adorable mini art journal together.
Mini Art Journal YouTube Video
Thanks for visiting. Happy Crafting!
You can also check other Art Journal posts here. And Subscribe to my YouTube Channel here.