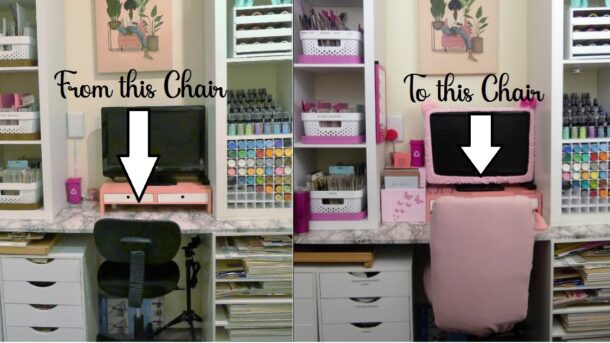
Hello everyone, today will share how I transformed this little, old office chair from Walmart into a bigger, more comfortable, and prettier chair, in my opinion.
I want to give you a heads up that I only used wood in this project to make the seat bigger and taller. If you already have your seat at the size and height you need, the only thing you might want to do is add more tufting, or just cover it with a prettier fabric.
Chair’s Background 😉
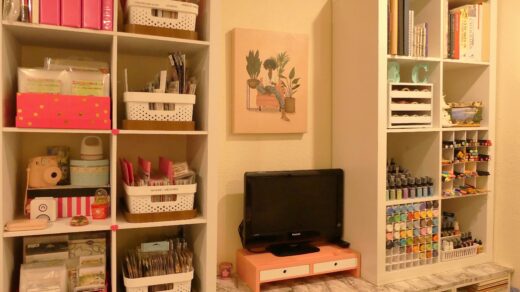
This chair always felt too small, ugly, and uncomfortable and I almost got rid of it. The main reason why I wanted a “new” chair was that when I reorganized my craft room, I needed a chair that would lift high enough to match the new counter where I sit to edit my videos.
I searched thrift stores for a more comfortable and bigger chair. I also wanted something that would fit and look better in my room. After, my unsuccess in finding a chair to thrift, I decided that I would buy it online. I chose a pink one and added it to my cart. Well, the shipping cost added up and it made the price a bit salty. That’s when I decided to give it a second look at my small and beat-up chair. I brainstormed ways I could transform the chair, without spending too much or nothing at all on new materials.
I admit that I’m lucky to have hoarded materials from past projects, but I believe if you already have a chair, that might be halfway done for a transformation.
Making the seat
I wanted to make the seat part a bit bigger, but I end up not having enough wood to make it the size I wanted. Also, I didn’t want to buy anything new. I decided that I would make this chair look different without having to spend any more money. So, I used what I had. Started cutting the piece of smooth plywood, in the shape of the chair seat, just as big as the piece of wood allowed me.
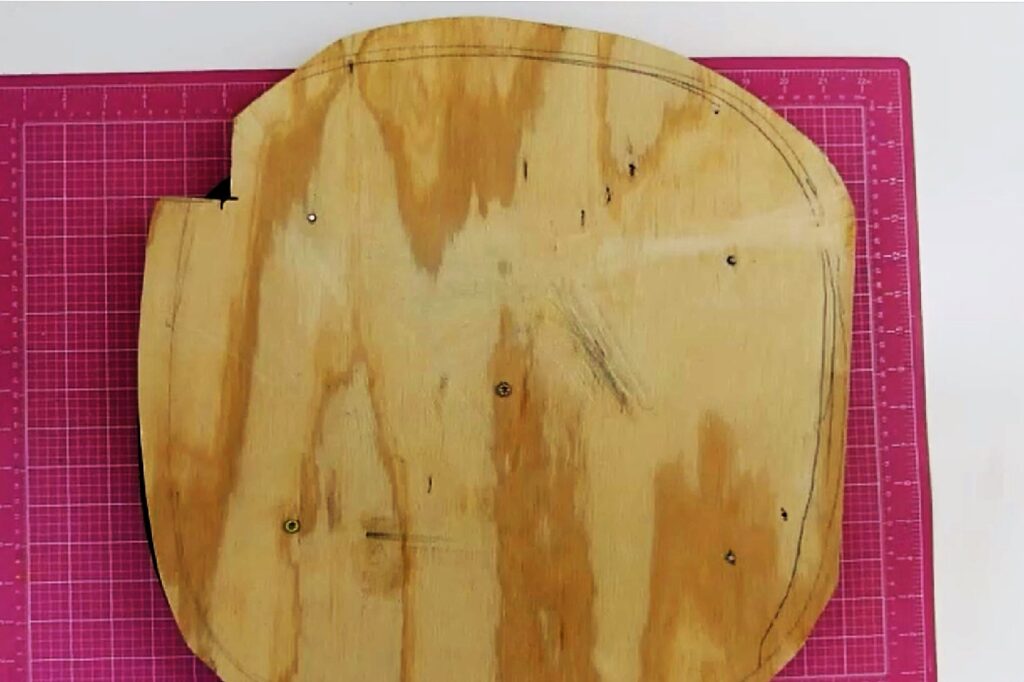
Screwed it to the top of the original seat (the soft part). I did not want to disrupt or mess up any of the original screws and holes in the original seat, which is located at the bottom part, so I sacrificed the tufting that was already in the chair.
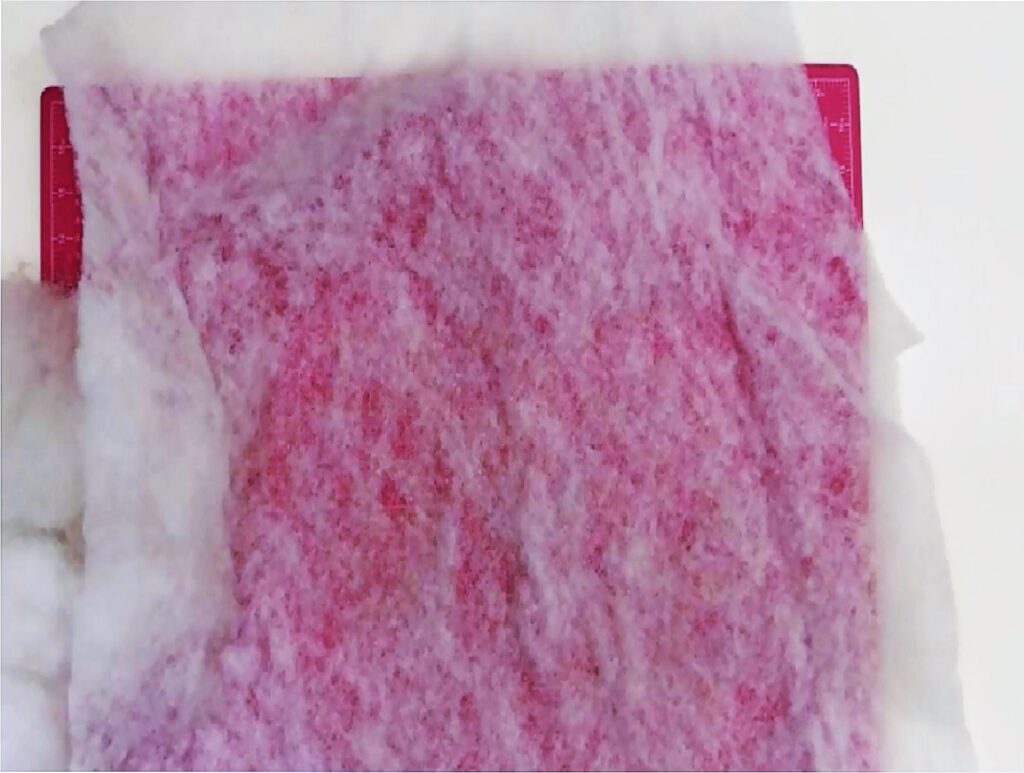
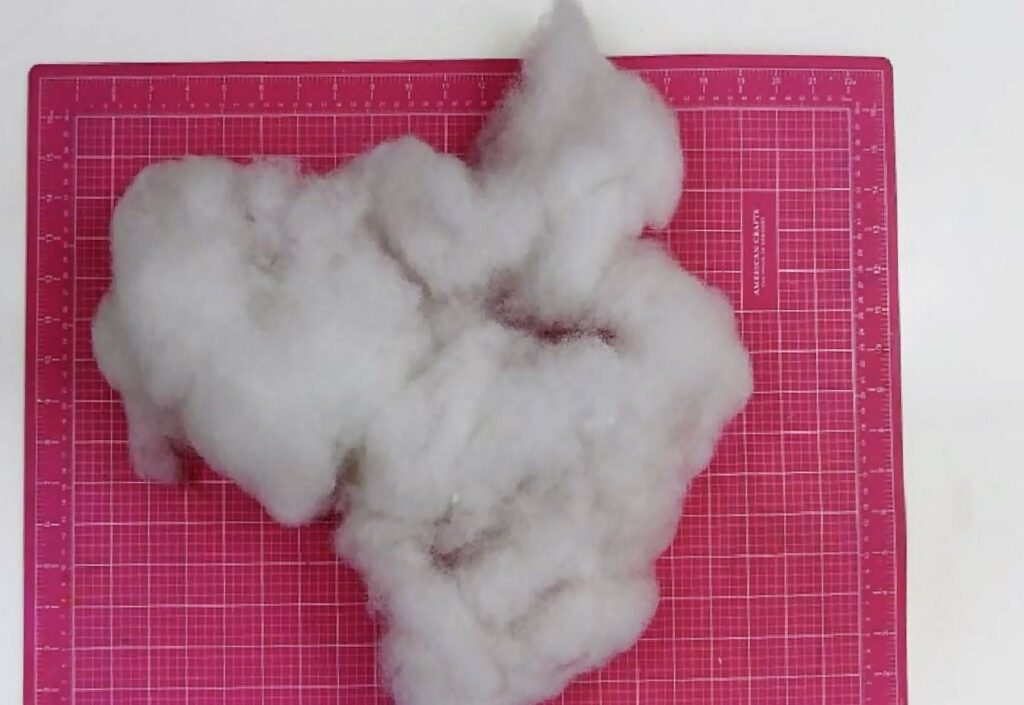
After making sure the piece of wood was secured in place, I cut a piece of quilt batting and added the tufting. Soon I realized that wouldn’t be enough to make the chair comfortable. I added a little cushion/pillow I already had as a base and added more tufting over it. I secured everything with staples.
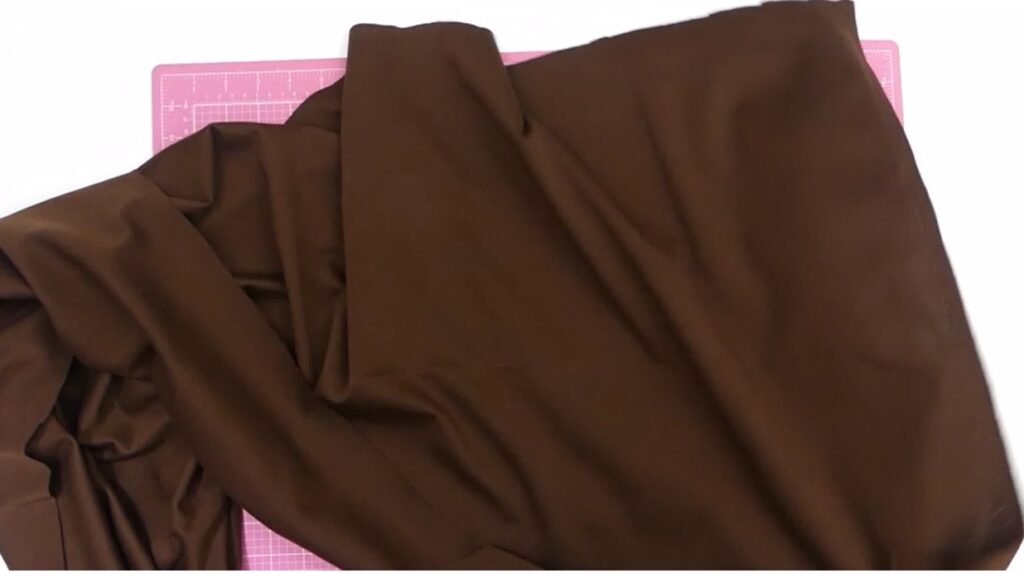
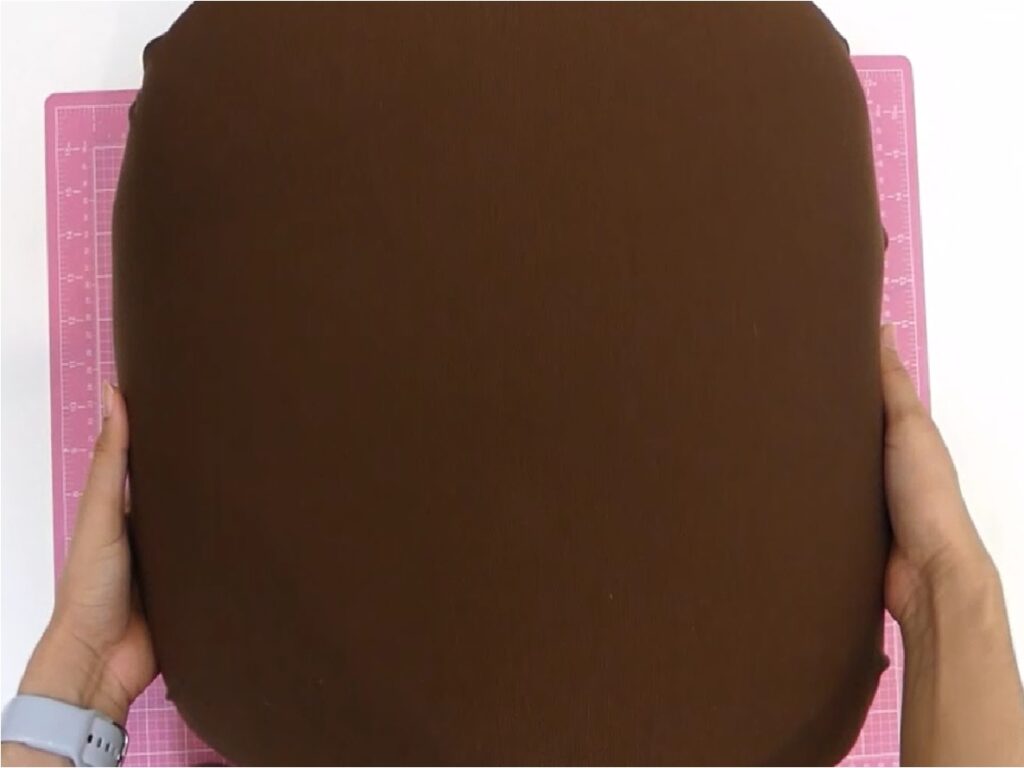
The next step was to add another fabric over the seat, to make sure the tufting was not going to rip. The brow fabric was not stretchy to both sides, to fix that I cut the fabric in the middle, stretched it to one side, stapled it to the wood, and repeated the same process on the other side, once that was done, I used the second piece of fabric across it and stapled on the side where the first piece of fabric didn’t reach. The only other thing left to do for the seat was the pink removable cover.
The Sewing Process for the Seat
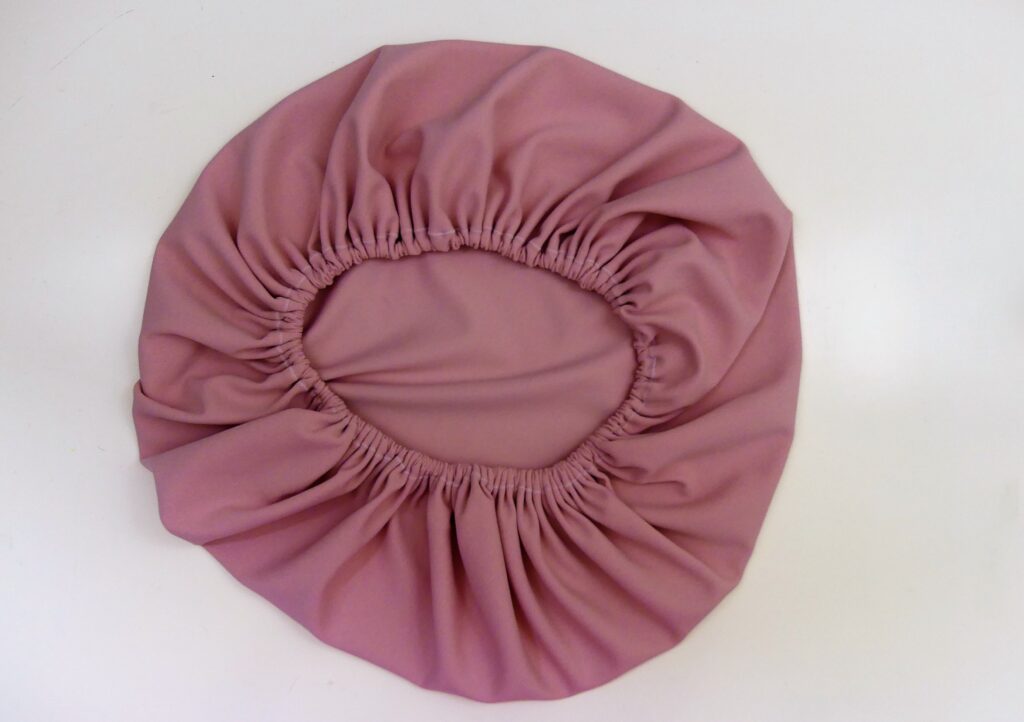
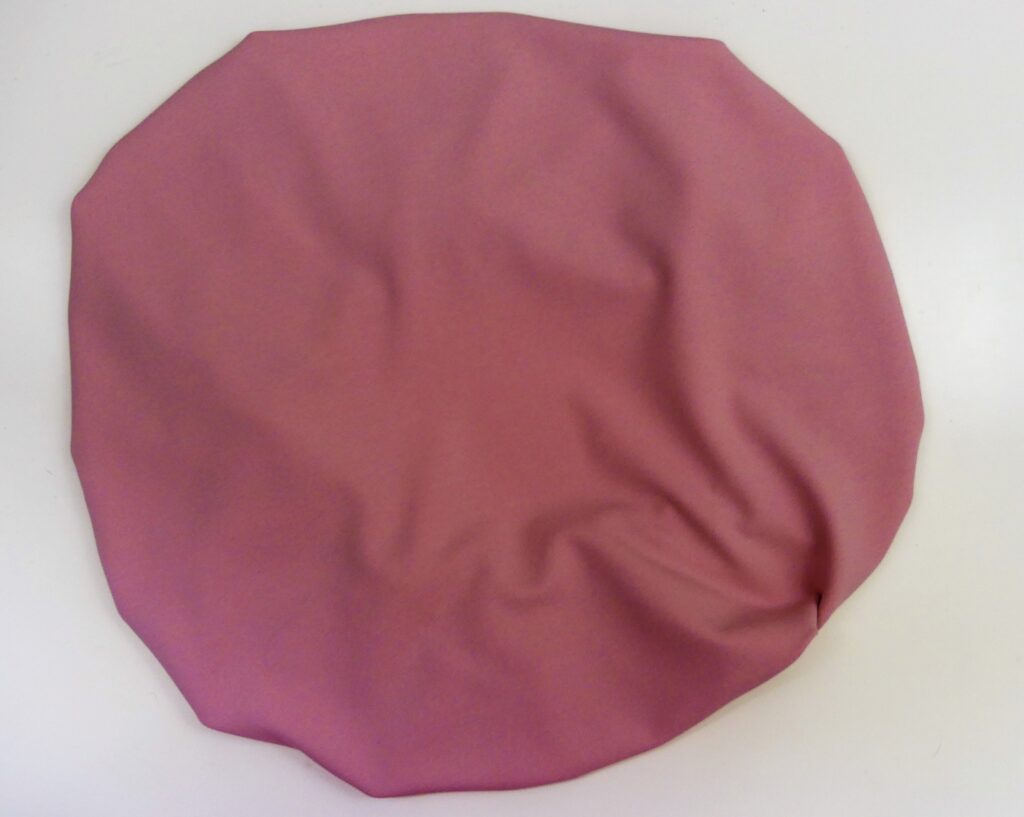
I cut pieces of fabric big enough to cover the whole seat and sew the edges leaving half-inch gap where I could pass elastic through it with the help of a safety pin. Once the elastic was in place and I sew it both ends together and closed the hole that I used to join the elastic together. It will end up looking like a shower cap.
The Backrest
For the backrest, I used a big piece of soft chipboard (recycled from the back of an office calendar), but that was not strong enough. I end up using a small cardboard box. Divided the box in half and attached it to the existing backrest of the chair with packing tape (yes, not the most conventional method, but it worked out fine). I should have used duct tape instead, to avoid the plasticky sound every time I lean back on the chair. However, that’s not a dealbreaker for me.
After attaching the cardboard as a backrest, I covered it with quilt batting just to add tufting inside to make it more comfortable for my back. If I have used tufting foam, the quilt batting would be unnecessary, and I would have finished faster too. I also think the finished look would be a lot better, but as we already know, I was trying to not spend any more money on materials. To close the tufted little pocket for the backrest I used hot glue.
Sewing the Pink Cover for the Backrest
Then it’s time to make the pink cover for the backrest. I have no idea how to sew, but I try it anyway. I measured roughly how much fabric I would need, cut it at the fold, and sew a little tube. Closed one side and the top making it a bit rounder to match my chair. Later I decided to sew the other side as well, just to have seams on both sides. That makes it look more even.
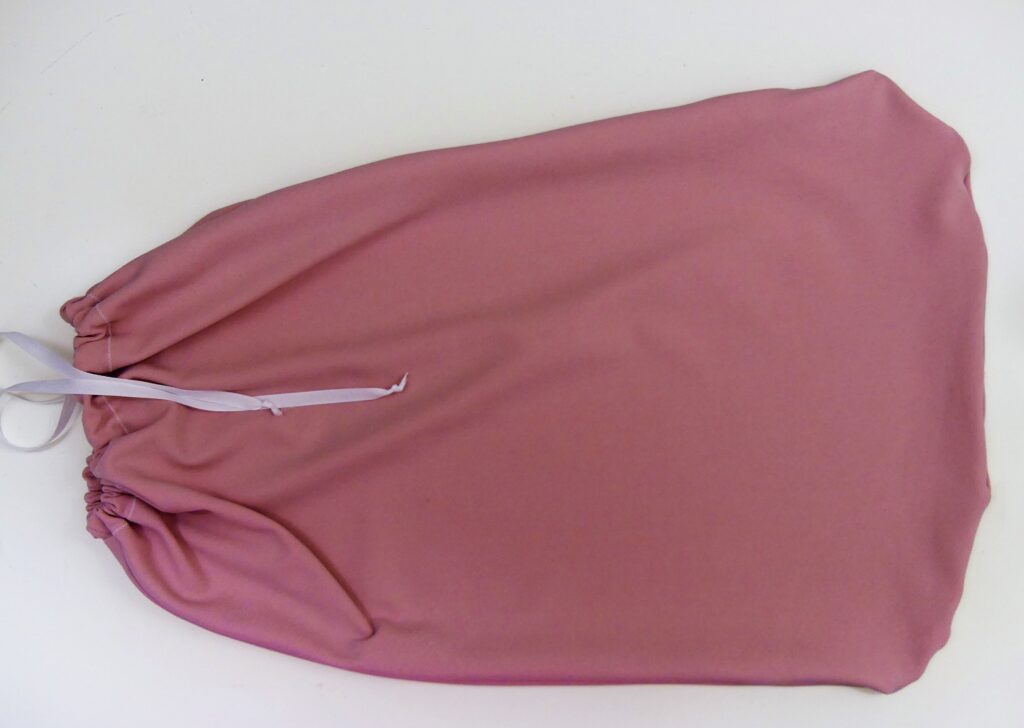
At least in my case, the backrest cover looks like a little fabric baggy (which works for me). On the only open side of the baggy, I sew the edges leaving half-inch space to pass a ribbon through it to tight below the chair.
That’s it, the chair is done. To me it looks prettier, it is for sure more comfortable and taller.
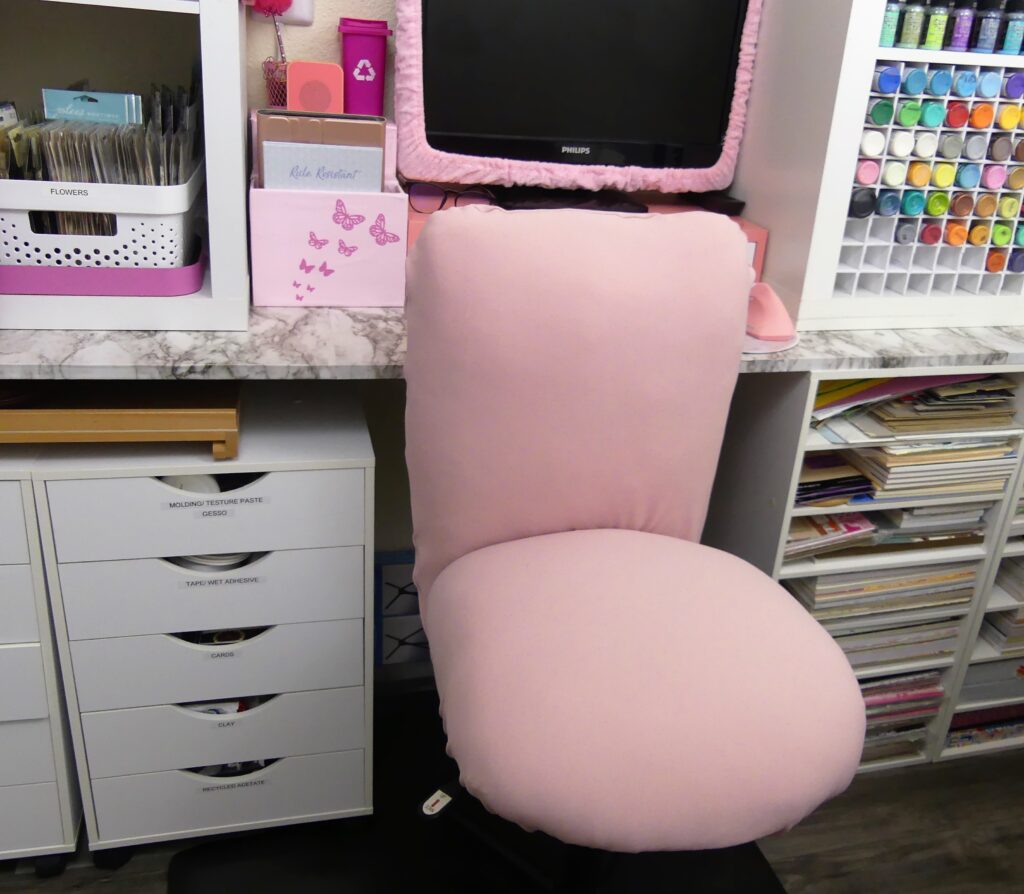
You can watch the whole transformation process in the video below.